In the last tutorial, I showed you how to set up your first WAX NFT Collection. Now we’re going to take it a step further and start creating some NFTs. I’m going to bring you along while I create an NFT for a Green Snake enemy that will be used in game.
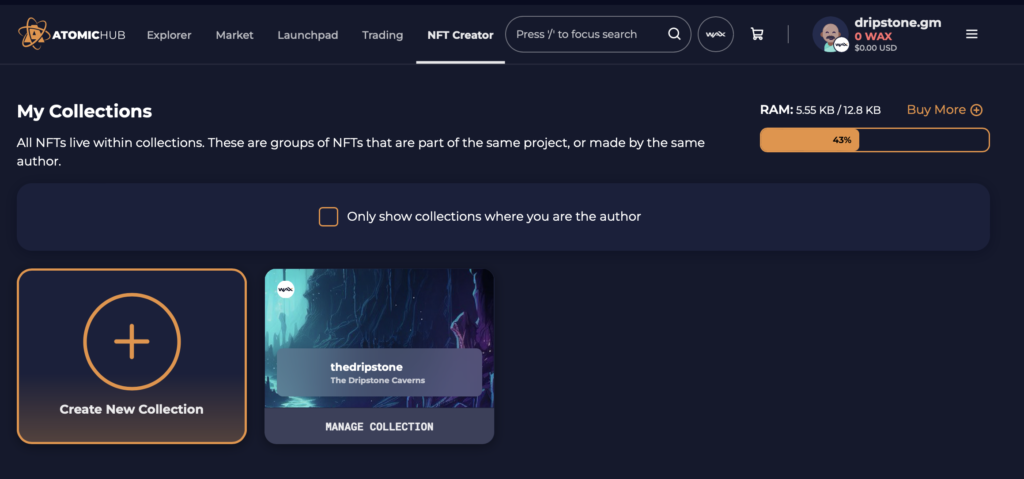
We’re going to start by going to AtomicHub’s creator (https://wax.atomichub.io/creator), connecting your wallet, and clicking on the “Mange Collection” button. On the next page you’ll see your collection information. Scroll down until you see the section for NFTs, Templates, Categories, and Tools.
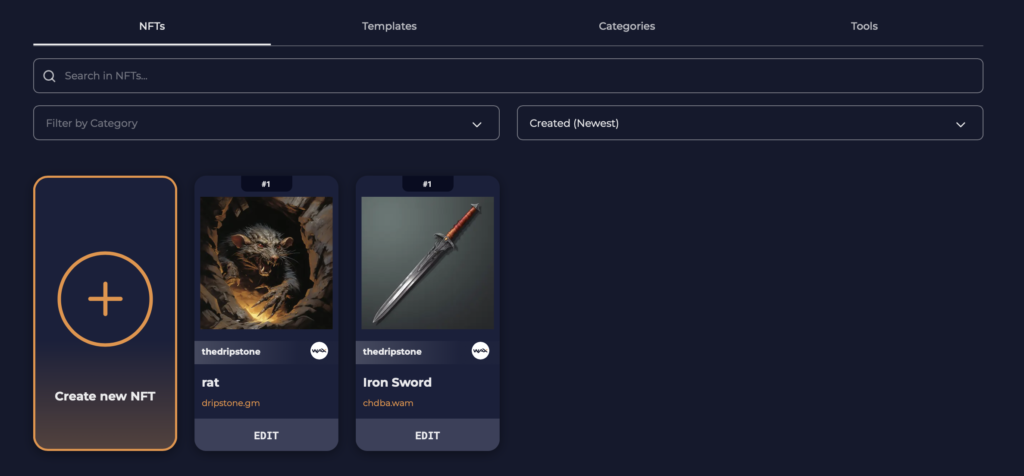
NFTs on the WAX Blockchain are organized by Categories (previously and interchangeably called Schemas). Schemas define the structure of Templates, which then define the structure of your NFTs. For example: The “rat” NFT you see in that screenshot is in the “enemies” schema/category, while the Iron Sword is in the “item” schema/category. They’ll be used for separate functions, so we’ll keep them separate. Creators that mint art projects will frequently use different categories for different sets of art.
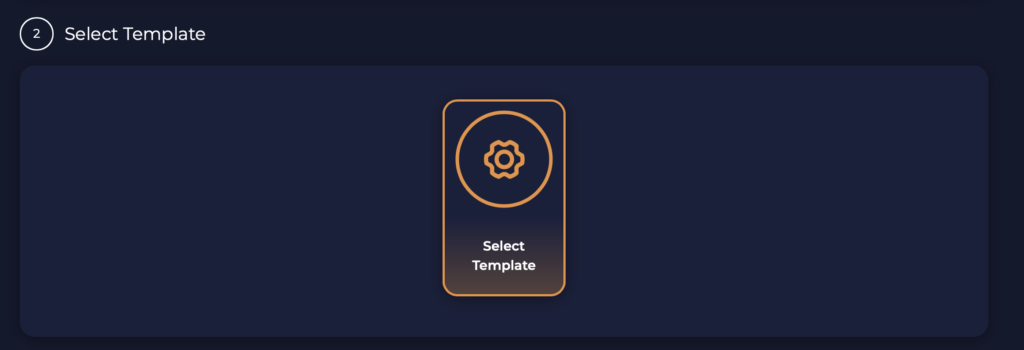
Enough about that, let’s click that “Create new NFT” button. When you do, you’ll be asked to select a schema.
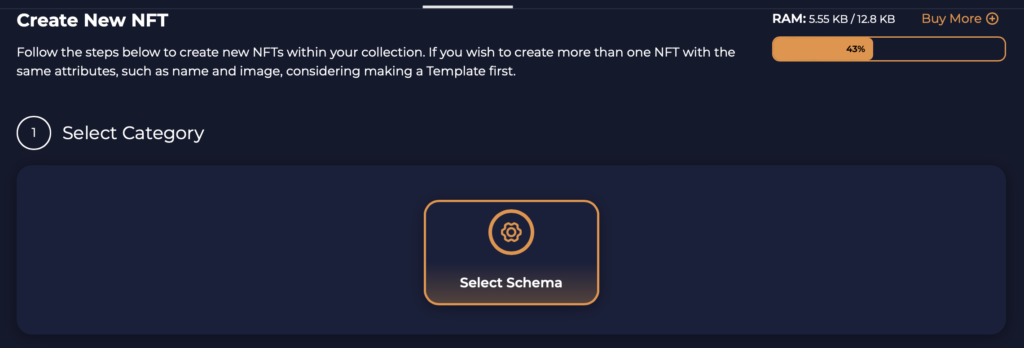
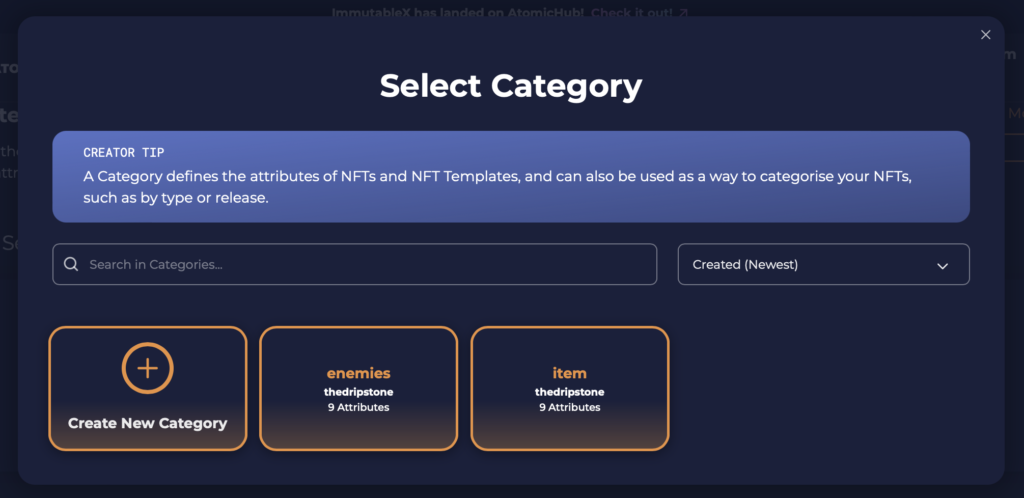
I’m adding a new enemy, so I’m going to click the “enemies” category.
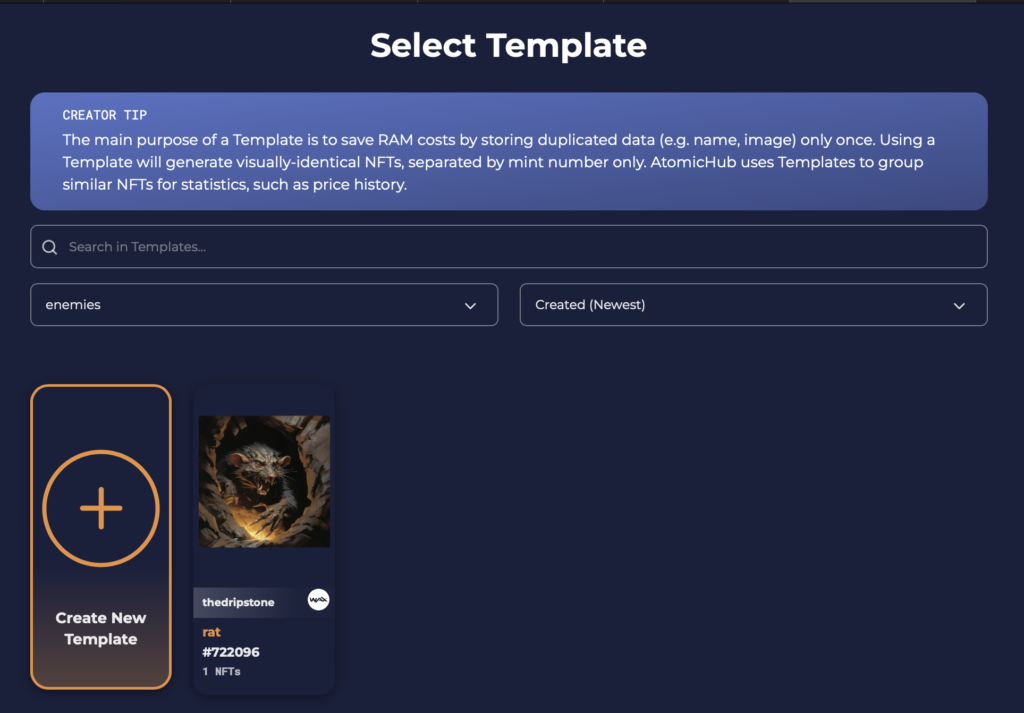
I’m adding a new enemy now, so I’m going to create a new template by clicking the button.
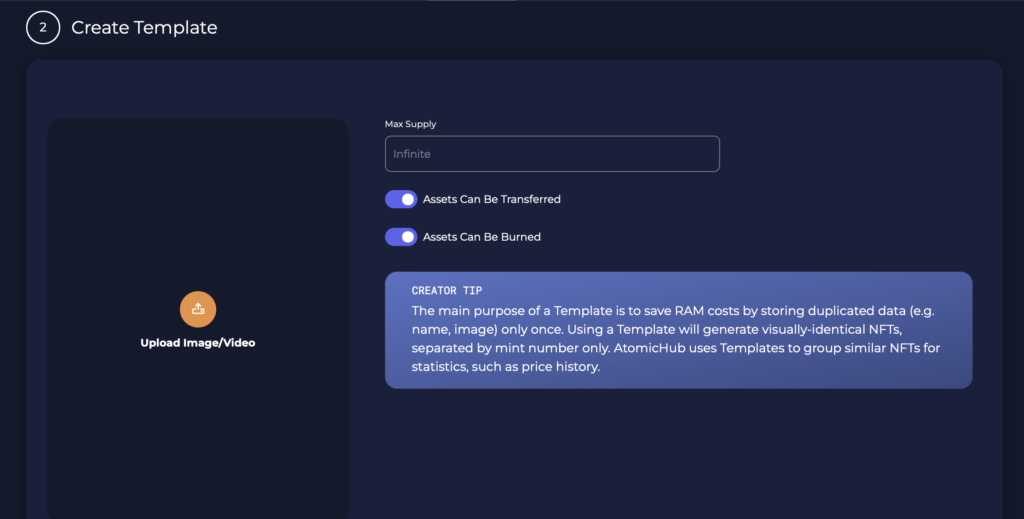
The first field you’ll see is the Max Supply. If your NFT is going to be an edition of 10 for example, you would enter that number in the Max Supply field. With a max supply set, this template will only ever be able to make that many NFTs. Since I will have a lot of enemies, I’m going to leave that open so I can make as many as I need. Next I need an image, so I’ll go ahead and upload it with the Upload Image button. AtomicHub will then upload it to an IPFS system and you’ll see the image hash in the image field down below with other detail information. Lets scroll down to check that out and set some other attributes.
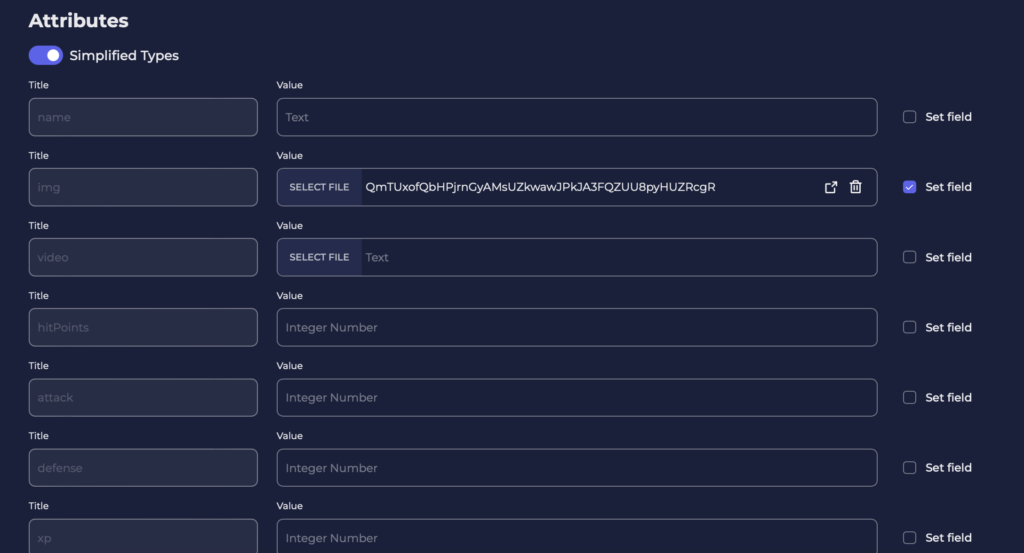
Any field you set in the template will be used exactly the same way with any NFT you mint from the template. You can see the img field is populated with the image hash automatically. In the game, there may be many green snakes, but some may be stronger or weaker than others, so I don’t want to set all of these fields. What we want to be consistent from enemy to enemy will be the name and image, so I’m just going to add “green snake” to the name field and scroll down and click the “Create” button. You’ll have to sign a transaction, and the Template will then be saved to the blockchain.
Now that the template is set, I can finally mint the green snake NFT. I’m going to go back to NFT Creator page, and go in and manage my collection again. This time when I click the “Create new NFT” button, I’ll just be selecting the template and minting the NFT.

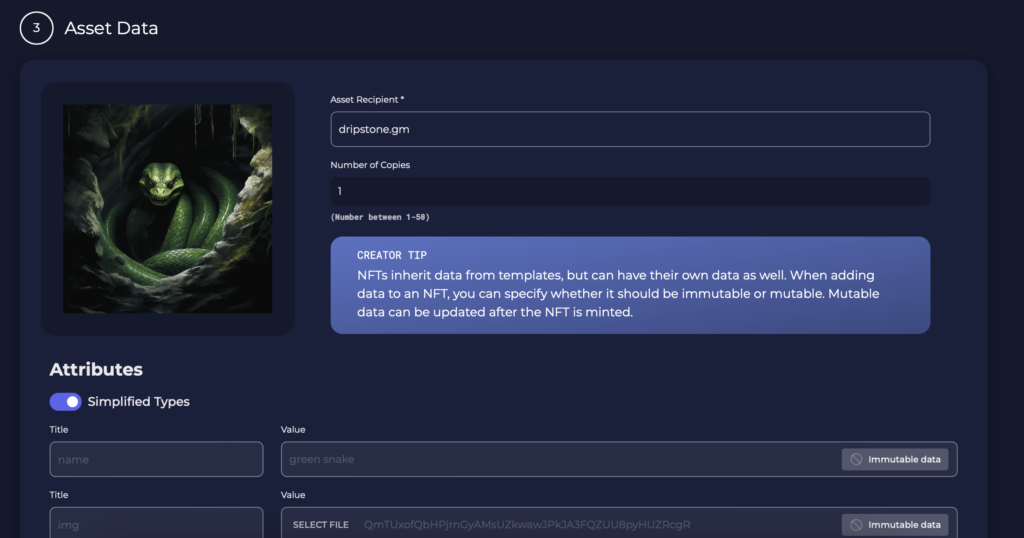
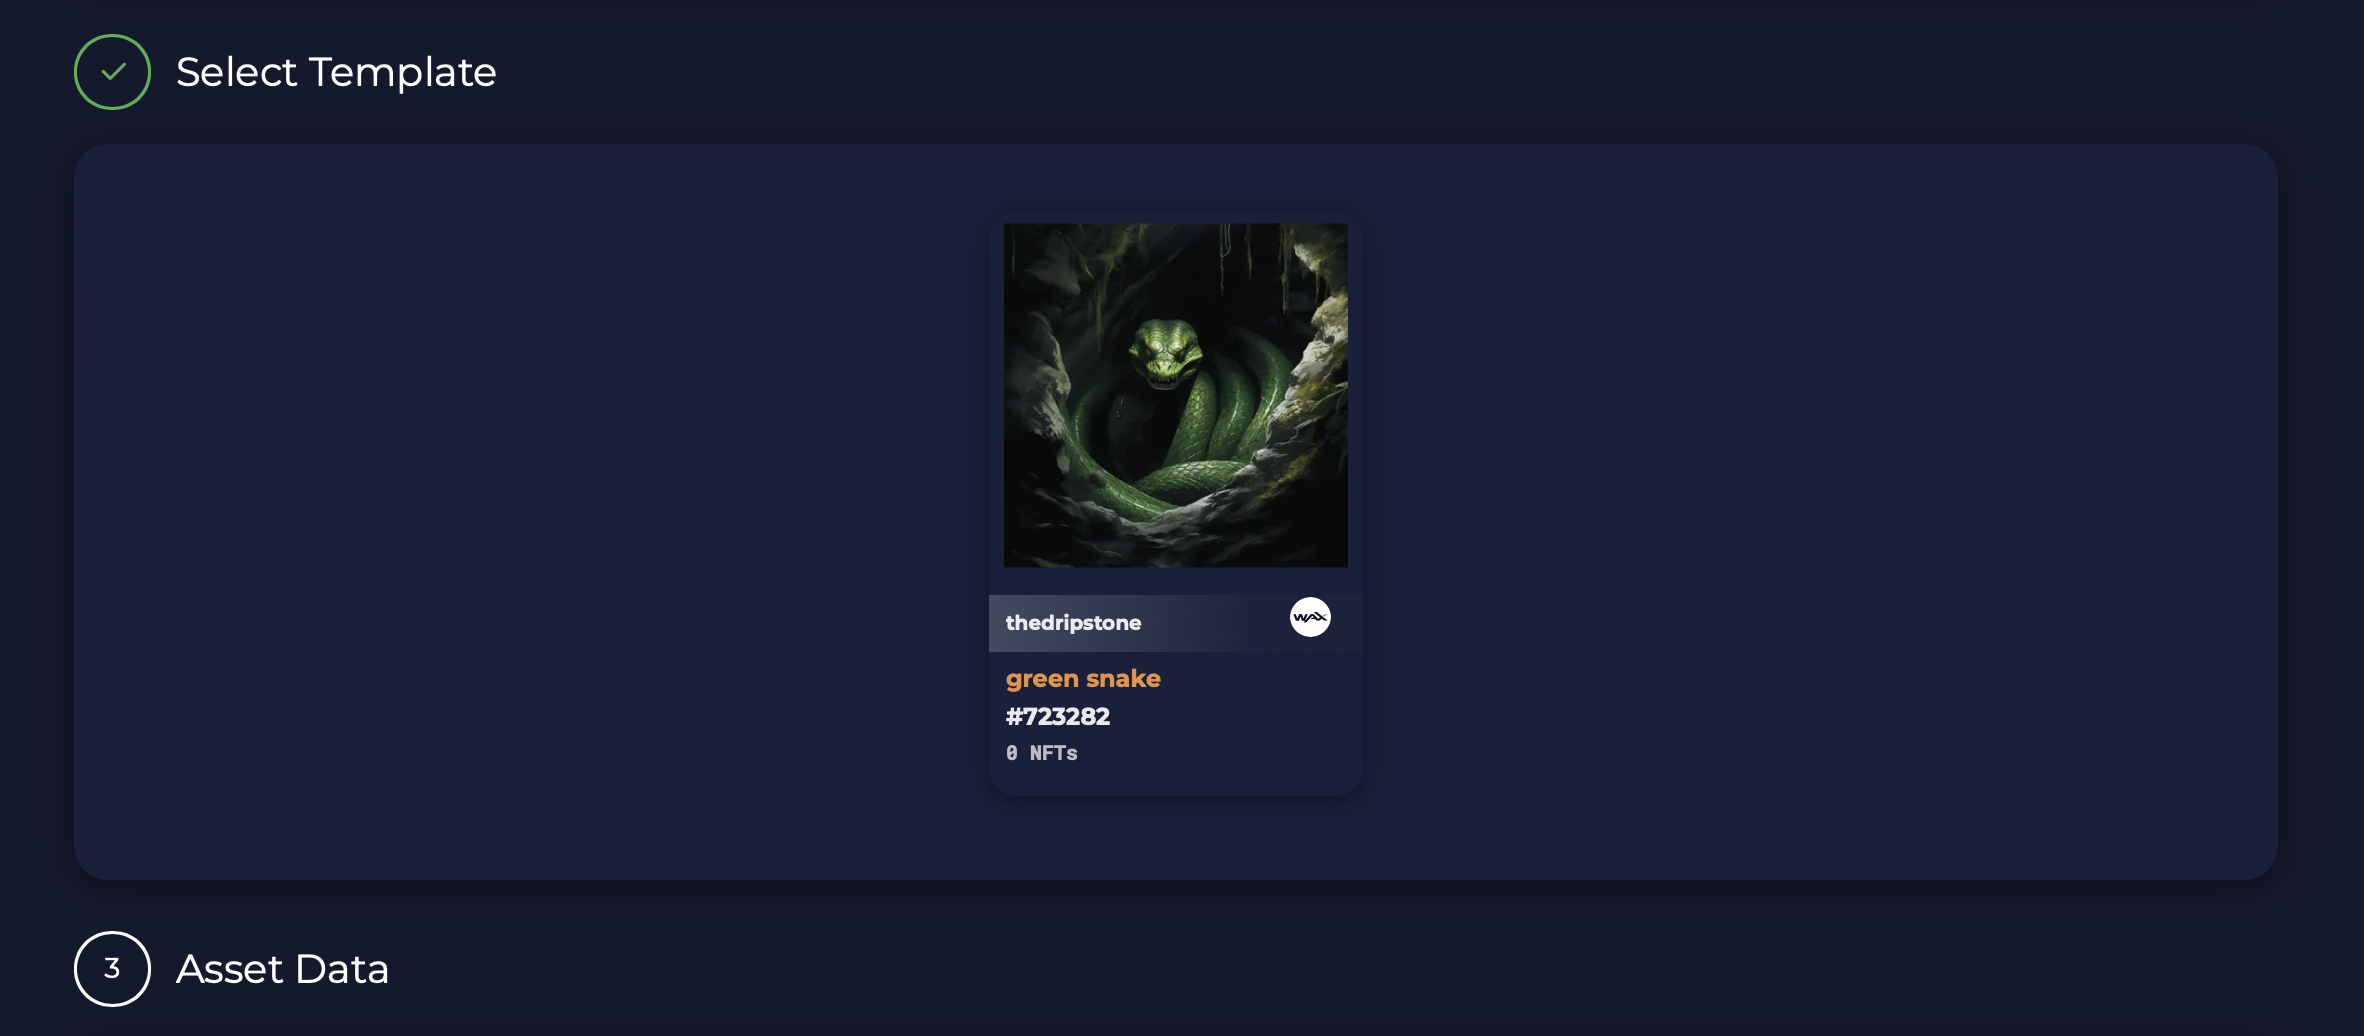
After I select my template I’ll scroll down to the asset data. There’s some things to keep an eye on here. The first one is the Account Recipient field. Your wallet address will be filled in as a default, but if you want to mint the NFT and immediately send it to another address, this is where you would put that address. Also notice that the “name” and “img” field are pre-loaded with the Template data I added, and cannot be changed. The other fields I left empty can be changed though, so I’m go ahead and fill in the appropriate values for this NFT.
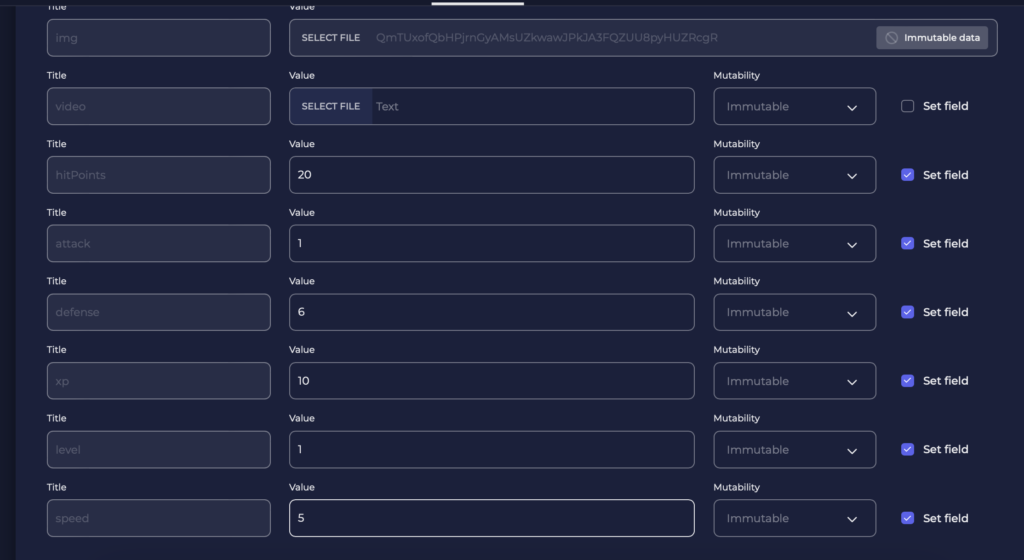
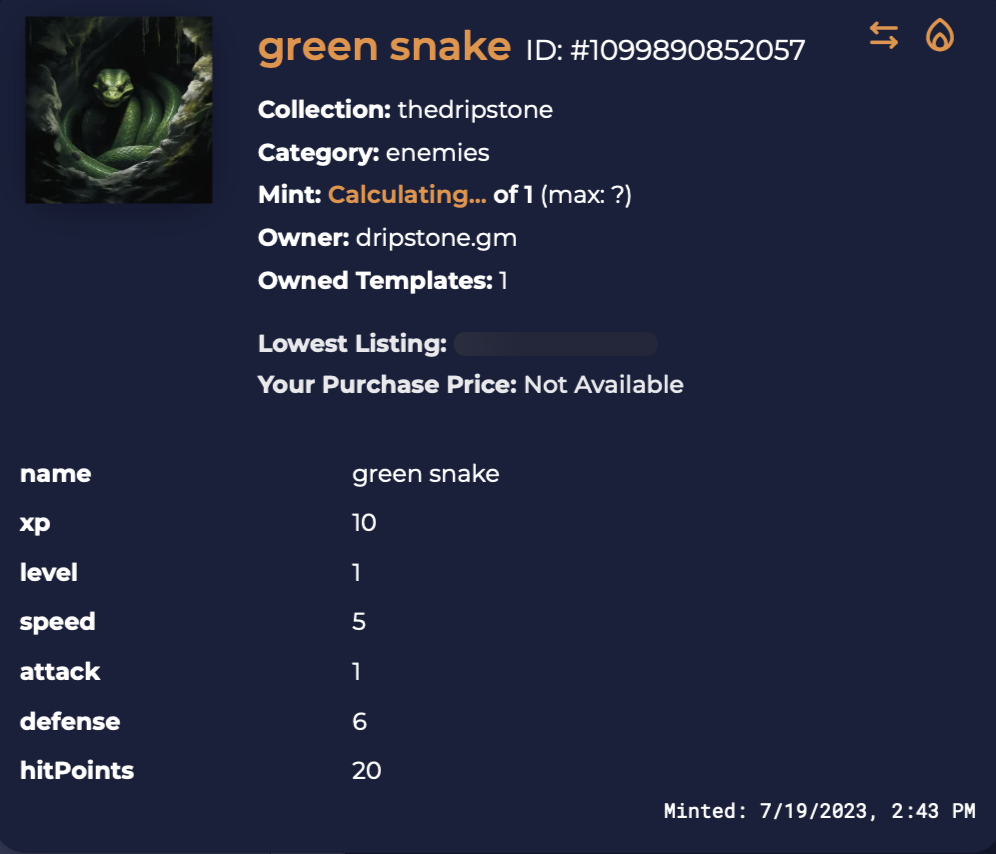
Double check your work, then once you’re happy with how everything looks, there’s nothing left to do but scroll down and click the “Create” button. You’ll sign a transaction and congratulations! Go see your new NFT in your wallet!
Leave a Reply